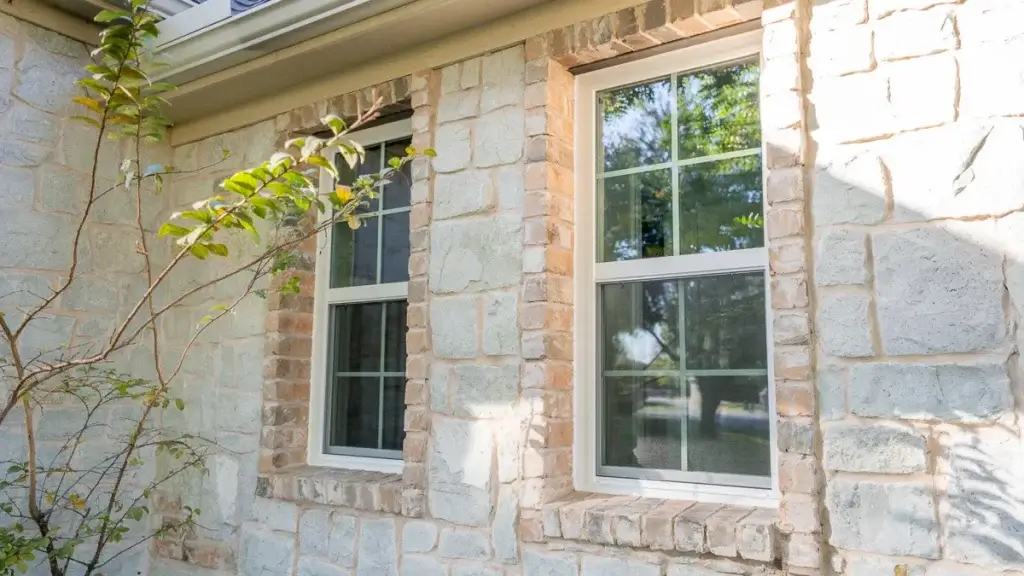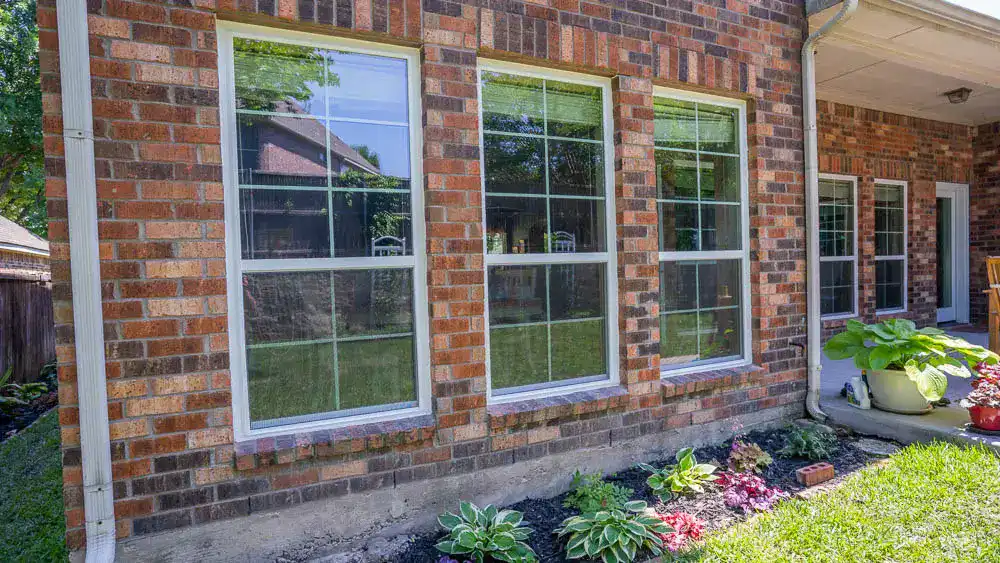
You know that satisfying feeling when you fix something yourself instead of paying someone else to do it? Replacing a window screen is one of those rare home projects where DIY actually makes sense. No PhD in screen engineering required, and you’ll save a decent chunk of money in the process.
Whether you’ve got a torn screen courtesy of your overly enthusiastic dog or just years of wear finally catching up, we’ll teach you how to replace a window screen quickly. We’re talking maybe 30 minutes once you get the hang of it. Let’s dive in.
Can I Replace Window Screens Myself?
Yes, absolutely, and you probably should if you’re dealing with standard rectangular screens in reasonably good frames. Window screen replacement is legitimately beginner-friendly.
If your screen frame is straight, the corners aren’t falling apart, and you’re working with a common size, this is prime DIY territory. You’ll need about $15 to $30 in materials from any hardware store, a flat work surface, and maybe 45 minutes the first time through.
When Should You Replace a Window Screen vs. Repair It?
Replace when you’ve got tears longer than a couple of inches, multiple holes, visible sagging, or screening that’s brittle and cracking. A genuinely damaged screen needs fresh material. Trying to save $8 worth of mesh just means you’ll be redoing this in three months.
Repair when you’re dealing with a small hole under an inch. Screen repair patches take about two minutes to apply.
What Tools and Materials Do You Need To Replace a Window Screen?
You’ll need a spline roller (the little wheel tool that presses the spline into the groove), a utility knife, a flathead screwdriver, and a tape measure. The spline roller costs about $5 and will last you dozens of screens.
For materials, grab replacement screen mesh and a roll of screen spline that matches your frame’s groove width. The spline is that rubber cord that locks everything in place. Bring your old spline to the store to get the right size.
Screen fabric choices matter. Standard fiberglass screen costs about $10 to $15 and works fine for most applications. Pet-resistant screen runs closer to $25 to $30, but it stands up to claws significantly better.
Does ACE Hardware or Home Depot Sell Screen Replacement Materials?
Yes, both carry everything you need. Home Depot and Lowe’s have larger selections with multiple screening types and various spline diameters. Ace Hardware stocks the essentials and often has staff who actually know what they’re talking about.
How To Replace a Window Screen: Step-by-Step Guide
Replacing a window screen is straightforward once you know the sequence. Follow these steps and your first screen will be done in under 45 minutes.
Step 1: Remove the Screen From the Window Pop the screen frame out of the window opening. Most screens have small tabs or clips on the sides — press them in and pull the frame toward you. Set it on a flat surface like a table or workbench where you have room to work.
Step 2: Pull Out the Old Spline Find the end of the rubber spline in the corner of the frame and pry it up with a flathead screwdriver. Pull it out in one continuous piece if possible and set it aside. Once the spline is out, the old screen mesh lifts right off. Clean any dirt or debris out of the spline groove before moving forward.
Step 3: Cut the New Screen Mesh Roll out your replacement screen mesh over the frame and cut it so it overlaps each edge by about 2 to 3 inches on all sides. You want enough material to grip while you work — you will trim the excess at the end.
Step 4: Press the Spline Into the Groove Starting at one corner, use your spline roller to press the new spline and mesh together into the retaining groove simultaneously. Work along one long side first, pulling the screen material taut as you go — smooth and flat, not stretched to the point of distortion.
Step 5: Work the Opposite Sides Move to the opposite long side next, gently pulling the mesh to remove any slack before rolling the spline in. Then complete the two short sides using the same method. Working opposite sides in sequence distributes tension evenly and prevents bunching or wrinkles.
Step 6: Trim the Excess Mesh Once all four sides of the spline are fully seated in the groove, run your utility knife along the outside edge of the spline to trim the overhanging mesh. Keep the blade flat against the frame to get a clean cut without nicking the spline.
Step 7: Reinstall the Screen Pop the finished screen frame back into the window opening until the tabs or clips click into place. Check for any visible sagging or gaps at the edges. If the mesh looks uneven, remove the spline on the affected side and redo that section before reinstalling.
How Do You Remove the Old Screen and Spline?
Pop out the entire screen from the window frame. Most screens have tabs or clips that release with a gentle pull. Once you’ve got the frame out, find the end of the old spline and pry it up with a flathead screwdriver. Pull it out in one continuous piece if possible.
The old screening material comes right off once the spline is gone. Clean out the spline groove while you’re at it, especially if you’re dealing with an old house where dirt has packed in.
Do You Need to Replace the Screen Frame or Just the Mesh?
Just the mesh in most cases. If your frame is straight, the corners are intact, and the spline groove isn’t cracked or warped, you’re good to reuse it. Frames last decades. It’s the exposed mesh that takes the beating from weather and pets.
Replace the entire frame when you see bent metal, loose corners, or a damaged spline groove. At that point, getting custom window screens made professionally might make more sense.
Do It Yourself Rescreening: Step-by-Step Process
Lay your clean frame on a flat surface. Cut your replacement screening larger than the frame by about 2 to 3 inches on all sides. You’ll trim the excess screen later.
Starting at one corner, use your spline roller tool to press the spline and mesh into the groove simultaneously. Roll along one long side first, pulling the screening taut. Not stretched crazy tight, just smooth without wrinkles.
Move to the opposite long side next, gently pulling the mesh to remove slack. Then do the two short sides. Once the new spline is fully seated, trim the excess screening with your utility knife along the outside edge of the spline groove.
Pop the screen back into your window. The first screen will probably take about 45 minutes. By your third one, you’ll knock these out in 15 to 20 minutes each.
How Do You Get the Screen Tightly Stretched Without Wrinkles?
Pull gently as you install the spline. You just want the screen tightly enough that there’s no visible sag. Work opposite sides sequentially to distribute tension evenly instead of bunching everything to one end.
Is It Cheaper To Repair a Window Screen or Replace It?
DIY replacement costs about $3 to $8 per screen in materials. Professional replacement runs $50 to $100 per screen. So yes, dramatically cheaper to DIY, assuming you’ve got screens worth saving and frames in good shape.
When Should You Call a Professional Instead of DIY?
You should call for professional assistance when you’ve got custom window screens that aren’t standard sizes, screens in unreachable locations, damaged frames needing replacement, or when you just don’t want to deal with it. Another time to call the pros is when the job involves warped frames, broken hardware, or screens that don’t fit properly.
If your issues extend beyond screens and you actually need a full window replacement, you can count on the specialists at Woodruff Windows. We have served North Texas families since 1982 with honest advice and quality work. Contact us for a straightforward assessment.